|
|
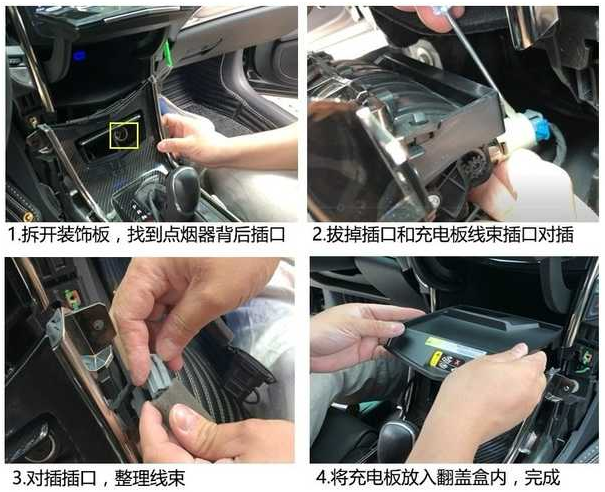
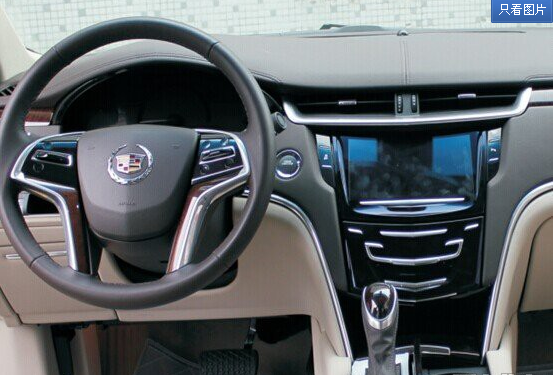
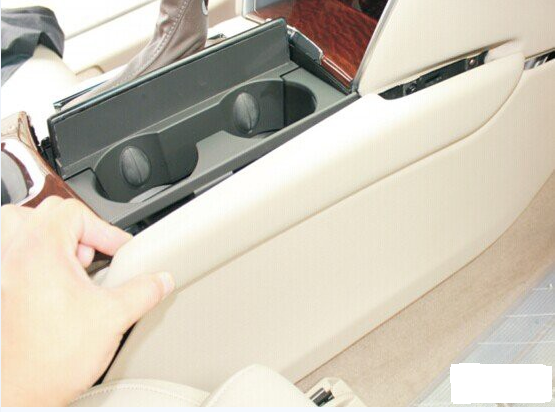
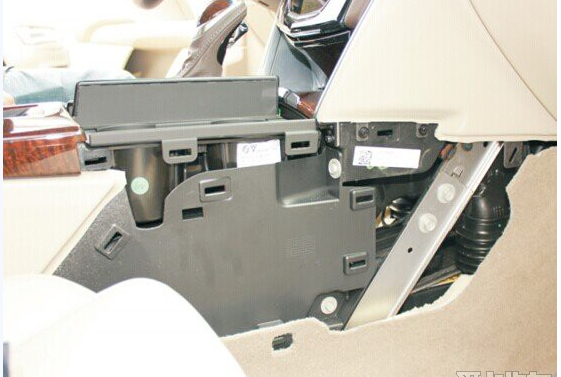
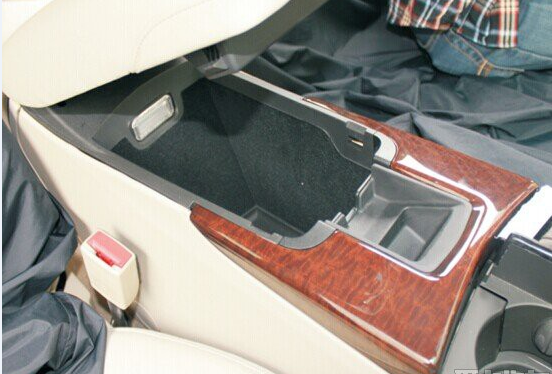
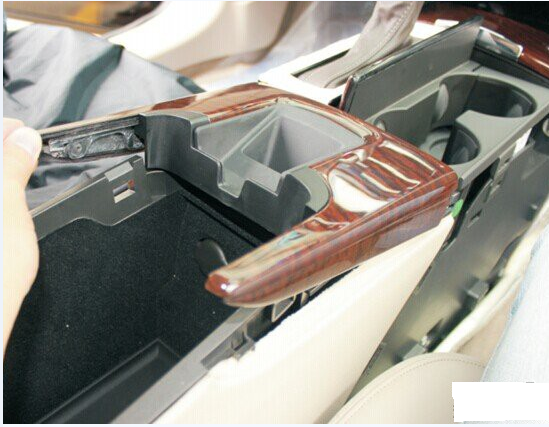
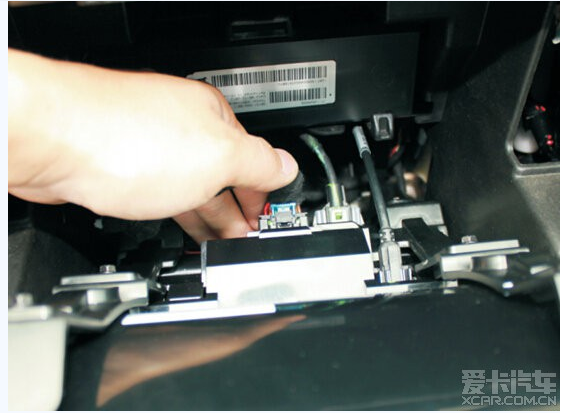
Cadillac ATS/XTS car wireless charger refit plan1. Modification purpose Although Cadillac ATS/XTS has been discontinued, whether it is domestic or foreign, the market is very large, and car owners have a great demand for wireless charging. In order to meet the needs of car owners for wireless charging, our company developed this model in the early stage. 2. Modification method Replace the original car storage box cushion without affecting the integrity and cleanliness of the original car. It is built according to the original car size. 3. Modification effect To achieve true wireless charging, there is no line in sight. And realize the mobile phone fast charging experience. 4. Modification steps Step 1.1 Disassemble the decorative panel and find the socket on the back of the cigarette lighter Step 1.2. Unplug the socket and plug in the charging board harness socket Step 1.3. Arrange the wiring harness for the sockets Step 1.4. Put the charging board into the clamshell box and finish
Step 2 Pay attention to the punch as far as possible to the left Then use the threading line to pull the line to the main driver's side Open the small storage panel under the main driver
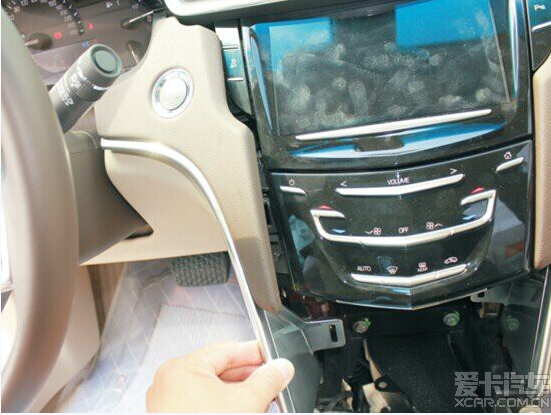
Step 3 Pry open the left panel of the center control, the effect after prying open
Step 4 Take off the rendering of the decorative panel
Step 5 Pry open the right trim of the center control, the effect after prying open
Step 6 The effect of removing the veneer
Step 7 Open the glove box
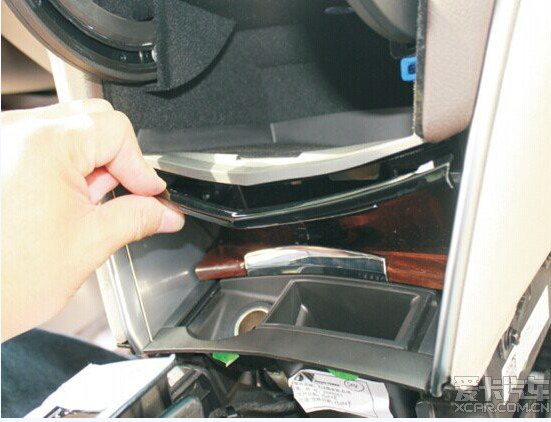
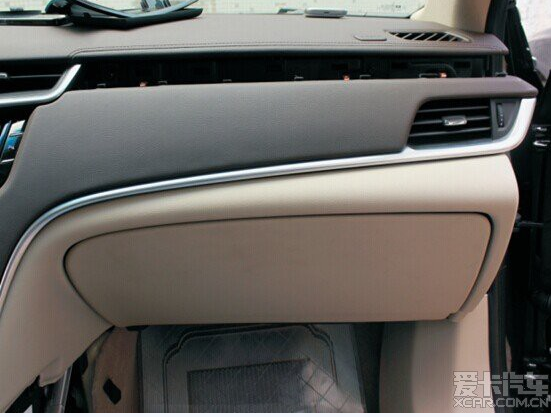
Step 8 Pry up the peach wood veneer in front of the glove box and remove the peach wood
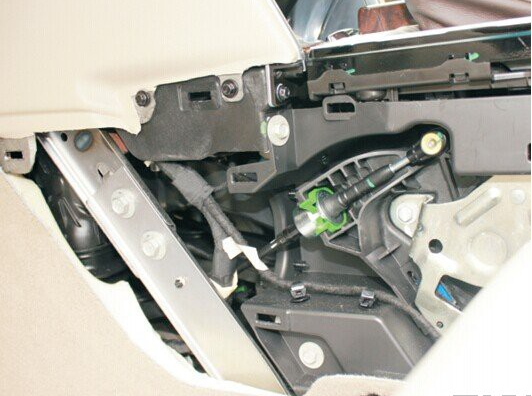
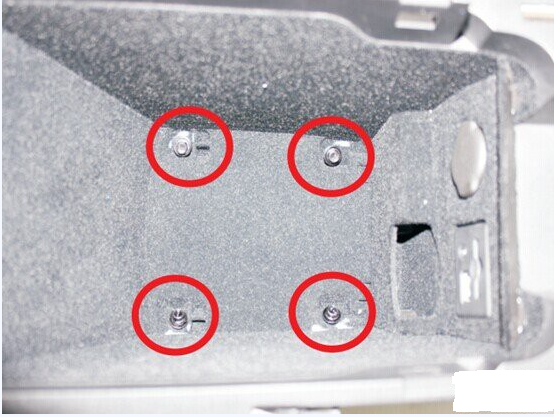
Step 9 After taking it out, unscrew the 4 screws, first lift the front of the glove box up
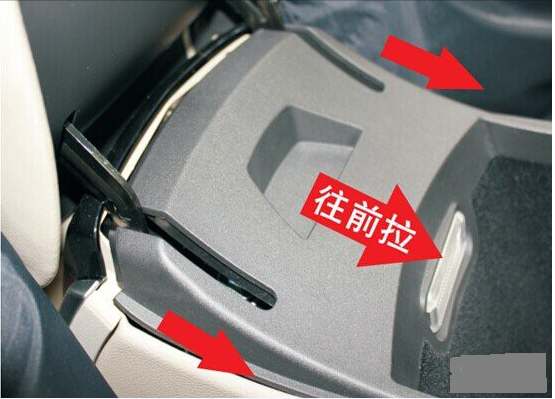
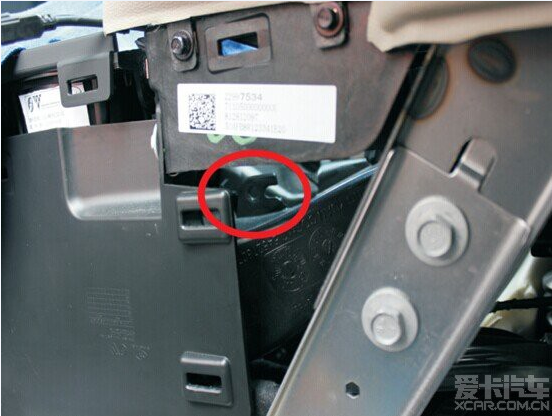
Step 10 Pay attention to the back of the glove box
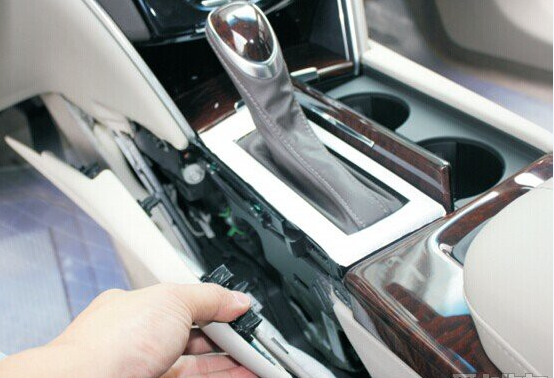
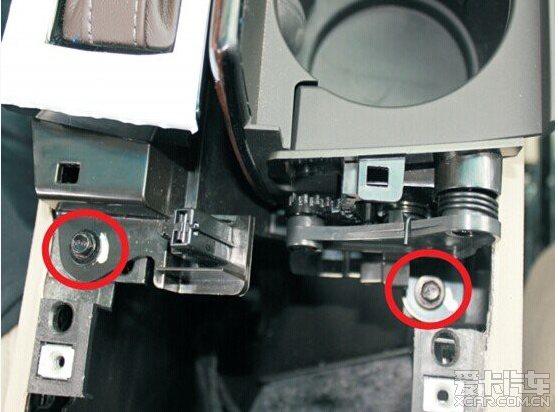
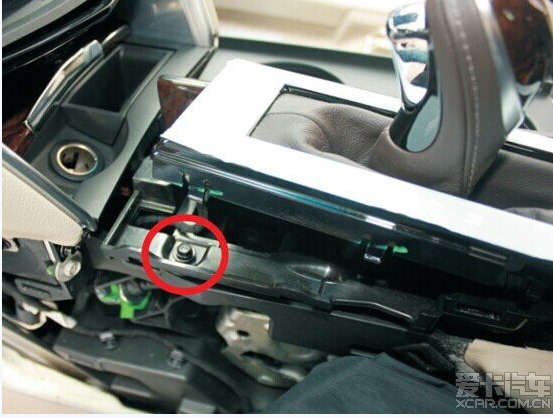
Step 11 Unscrew the 2 No. 7 screws at the bottom left and right of the water cup
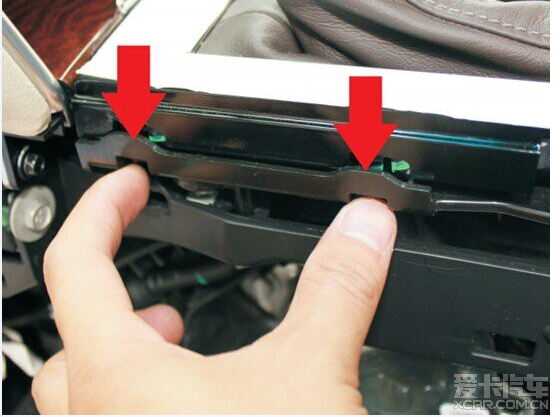
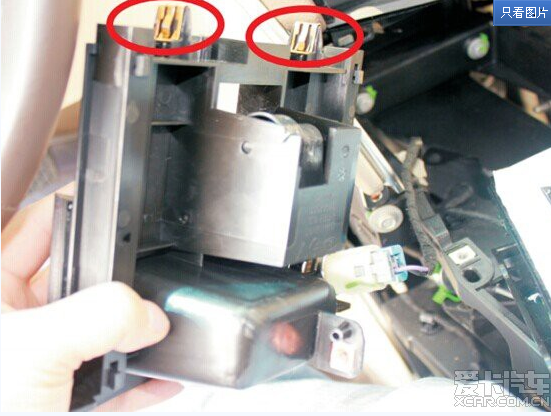
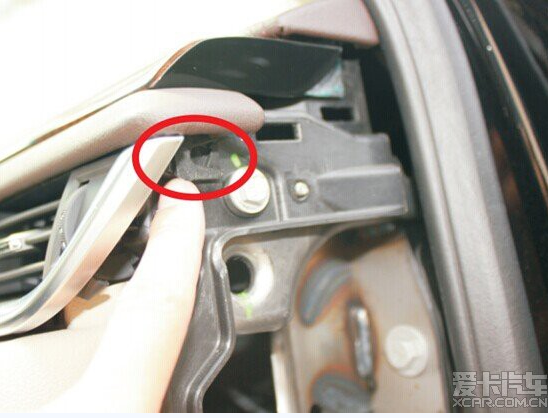
Step 12 First hang to the N block, and then pry open the two buckles on the left and right upper corners of the peach wood
Step 13 The effect after prying open and unscrew the No. 7 screw in the upper left corner
Step 14 Pry open the cover just above the cigarette lighter and take it out
Step 15 The effect of screwing out
Step 16 The effect after pulling out
Step 17 Pull out the left side panel of the screen
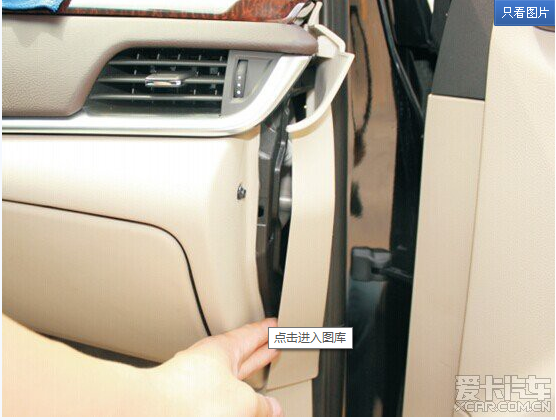
Step 18 Pry off the tripod under the A-pillar
Step 19 Pull out the peach wood board and pay attention to the buckle of the air outlet on the right side of the screen
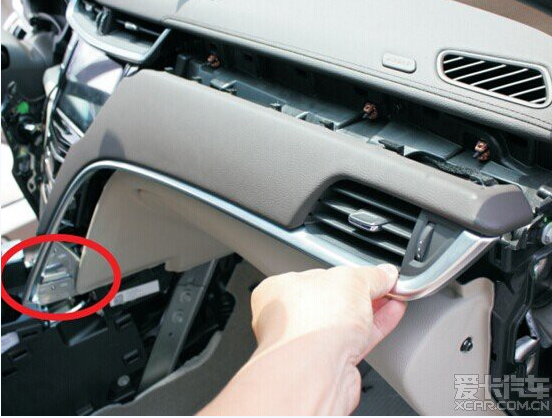
Step 20 Pull out the entire panel
Step 21 Pay attention to the bottom right corner
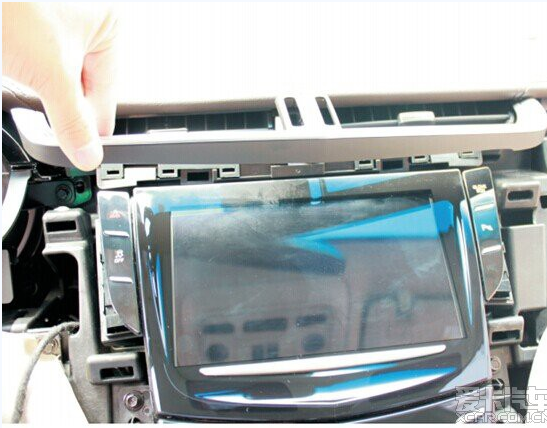
Step 22 Pry open the cover of the air outlet on the top of the screen
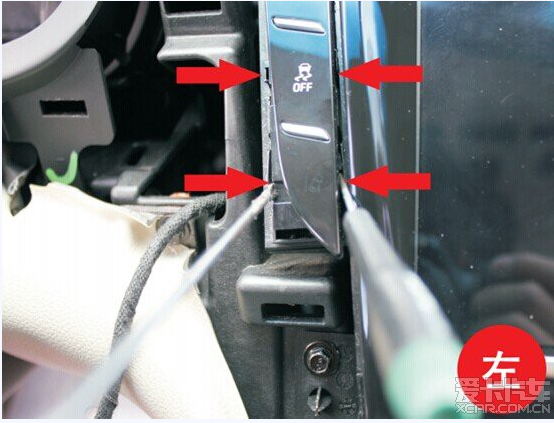
Step 23 Pry the buttons around
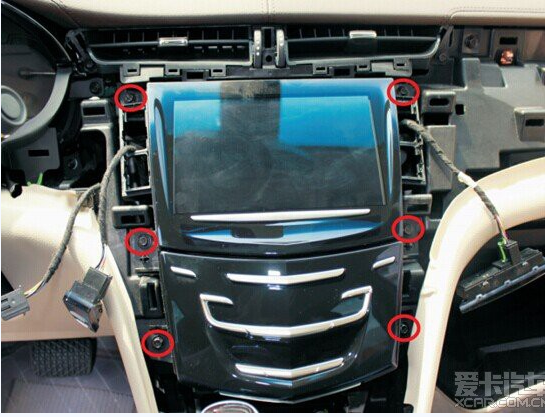
Step 24 The effect after disassembly, take out the No. 6 screw on the 2 side
Step 25 Pull out the plug behind the screen
|

